Well, no time like the present, I guess.
First, I'll mention something about how my wife and I are making a Portal cosplay. There. That was it.
Next, I'll come up with a not-very-clever way of saying that I got put in charge of the props (a portal gun and a GladOS helm, mainly) and then quickly make sure that no-one remembers this sentence by posting a picture of my portal gun test-fire in convention level lighting.

Yeah, something like that would be cool. Oh, and maybe one of the same thing under brighter-than-normal lightning!

Not quite as impressive, but you get the idea: it's a powerful light in that thing! But I should go back to the very beginning... so, for today's blog, here's how the portal gun got started!
Step one was to draft out the images. After careful measurements, here's what we came up with (well, mostly my wife):

Basic portal shapes, nothing fancy. Next, we prepped the florist foam (which you can buy in nice blocks at just about any craft store):

So, cutting the blocks to shape and gluing a few together. I'm not even kidding when I say this thing is big. After that, we marked out the shapes (once again, my wife, as she's the artist and I'm just around to move stuff and do numbers):


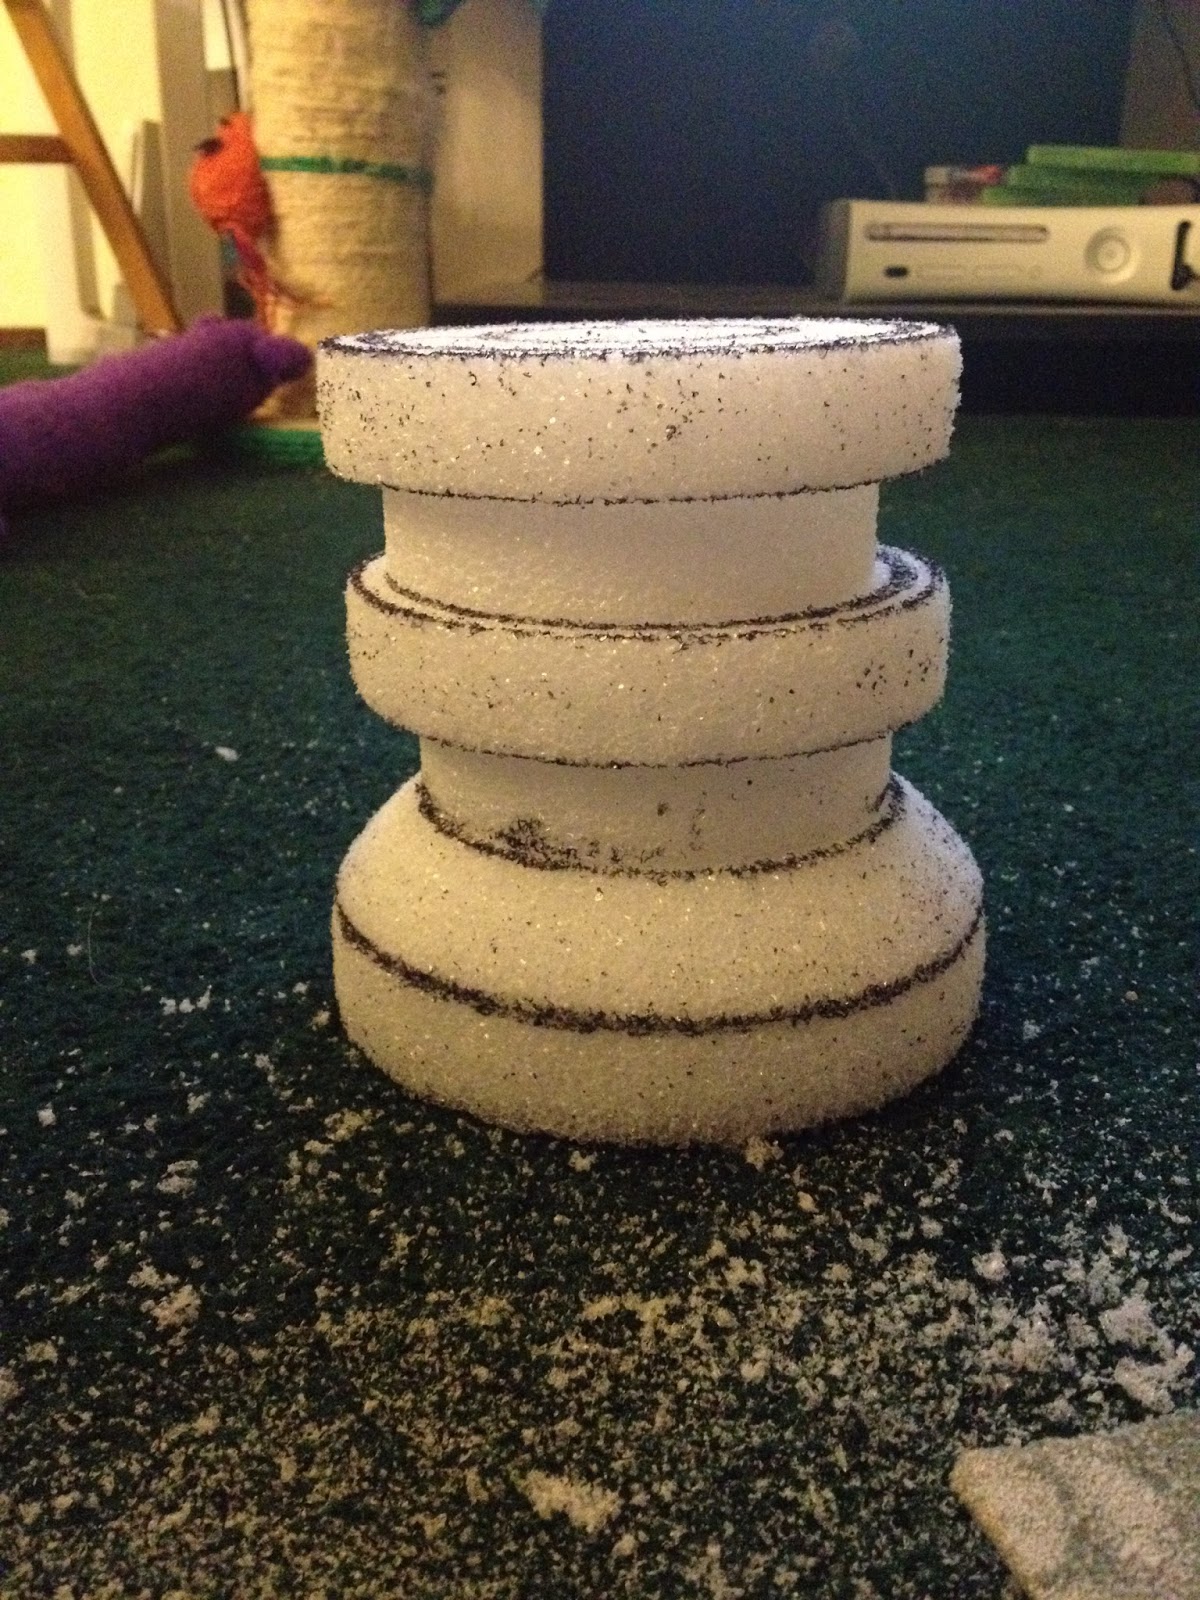
Then it was time for some sanding. Like, a lot of sanding. Fortunately, florist foam sands like nobody's business, takes a shape very well, and gets surprisingly smooth:

Then we cut out a few more shapes, like the pieces we ended up using to make the portal gun nozzle:
After that... we did some more stuff... like applying glue to the foam (pro-tip, Elmer's glue will turn just about any type of Styrofoam rock hard, and in the case of florist foam, also make it surprisingly resilient):

And then a couple more layers of glue, until it got that just-been-glued shine:

Then a couple more things happened, like applying wood filler to everything so we'd have something nice for the paint to stick to (it's better than Bondo, and lighter too!) and painting:


I... may have skipped a step here or there. I mean, I didn't even explain the cake purse my wife made. Also, I got terrible at taking pictures once I started painting and adding LEDs and stuff. Tell you what, swing by in a day or two, and I'll have some more up-to-date stuff to show you. Maybe the costumes and the finished props. Or a picture of my wife with the books she won from Brandon Sanderson. Promise.
Hello my name is Vic.
ReplyDeleteI recently took photos of you at PAX Prime. Please visit my site at
http://lucidvisualdesigns.wix.com/lucidvisualphotos
If you find your photo please feel free to send me an e-mail so I can send you more photos of your cosplay. Thank you.